 North Star Gate
 Crown Jewel
Before you begin
The collection works locally without an account. Photo selection and camera access are used when you add pictures. Optional NSG ID sync sends collection records and photos to the server.
Create a collection folder
- From the main collection screen, choose New Folder.
- If asked where to create it, choose Top-level Folder or the offered subfolder option.
- Enter Name.
- Choose Parent folder if that control is shown.
- Choose Template.
- Choose Save.
What to expect. The folder is ready for new items. Top-level folders without an explicit template use Default; subfolders inherit their parent’s template unless you choose another.
Add an item
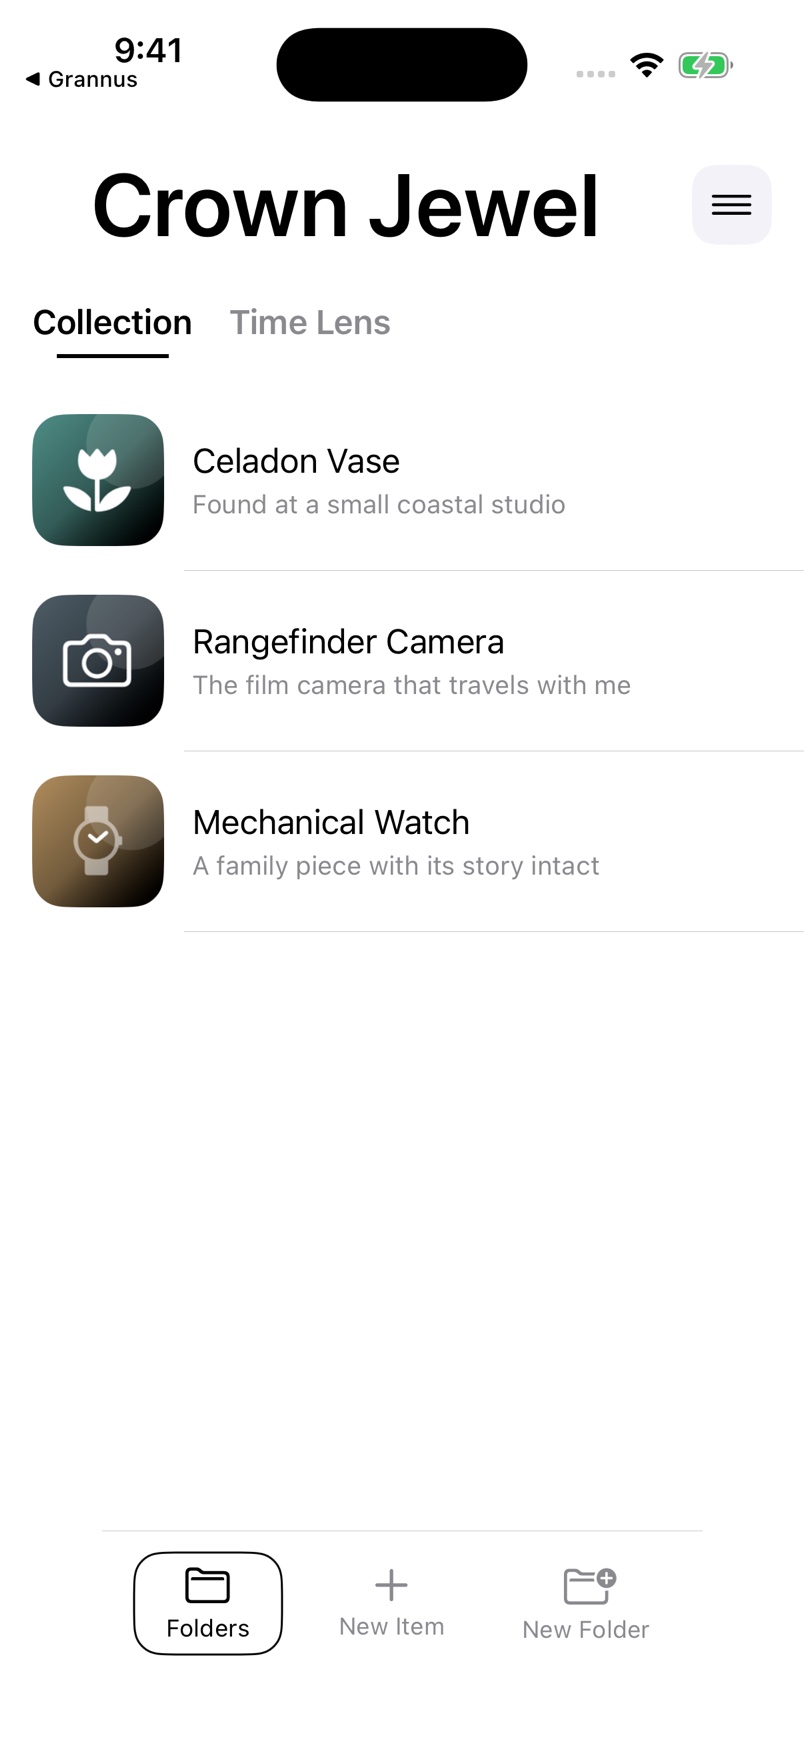
- From the main collection screen, select an existing folder.
- Choose New Item.
- Enter Name.
- Optionally enter Notes.
- Complete the Fields required by the template.
- Check the Folder selection.
- Choose Save.
What to expect. The item is saved locally in the selected folder. Create a folder first if New Item is unavailable.
Add and manage item photos
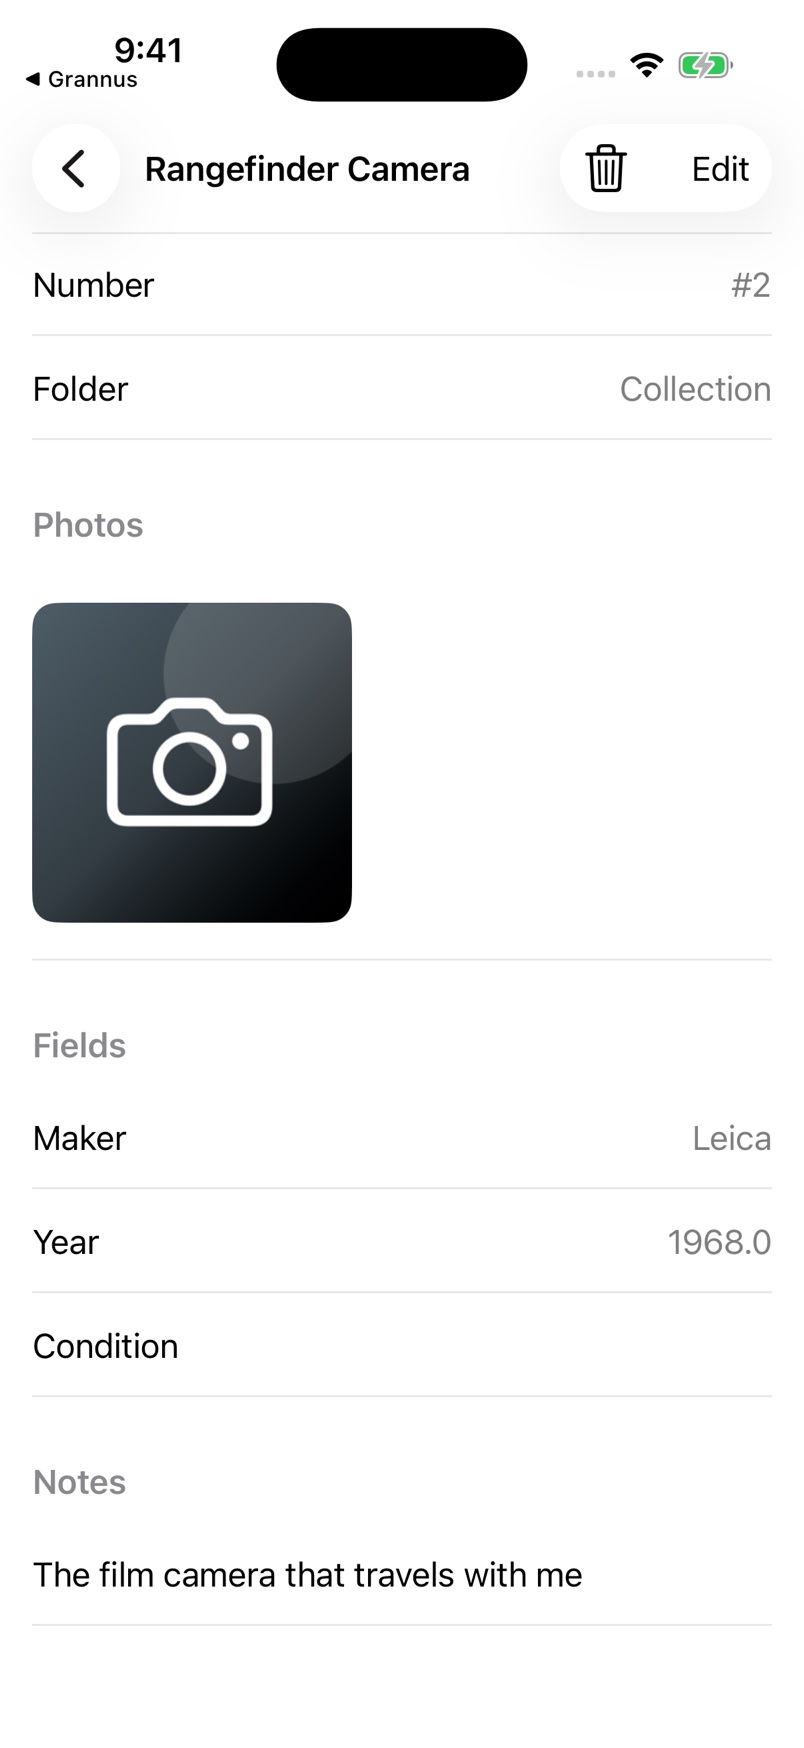
- From the collection screen, open an existing item.
- Choose Edit.
- Choose Photos to open the picture picker, or Camera to take a picture.
- Grant the requested access if you want to use that feature.
- Select or capture the picture.
- Open a photo’s menu if you need to adjust it.
- Choose Rotate Right, Rotate Left, or Set as Cover as needed.
- Choose Save.
What to expect. The saved pictures belong to the item; its cover represents it in the collection. A template must include a photo or Time Lens field to offer pictures. A photo field may allow only one image.
Build a reusable template
- From the collection screen, open the top-right three-line button for Settings.
- Open Templates.
- Choose the plus button.
- Enter Template name.
- Choose Save.
- Reopen the saved template.
- Choose the plus button to add a field.
- Enter Field name.
- Choose Type.
- Turn on Required if the field must be completed.
- Choose Save for the field.
- Choose Save in the template editor.
What to expect. The template is ready to assign through Template in a folder’s editor. Repeat the field steps for each additional field. A template must be saved before adding its fields.
View dated pictures with Time Lens
- Starting with a folder assigned a template containing a Time Lens field, choose New Item.
- Enter Name.
- Choose Add Pictures.
- Select your pictures.
- Adjust the picture dates if needed.
- Choose Save.
- Open the saved item.
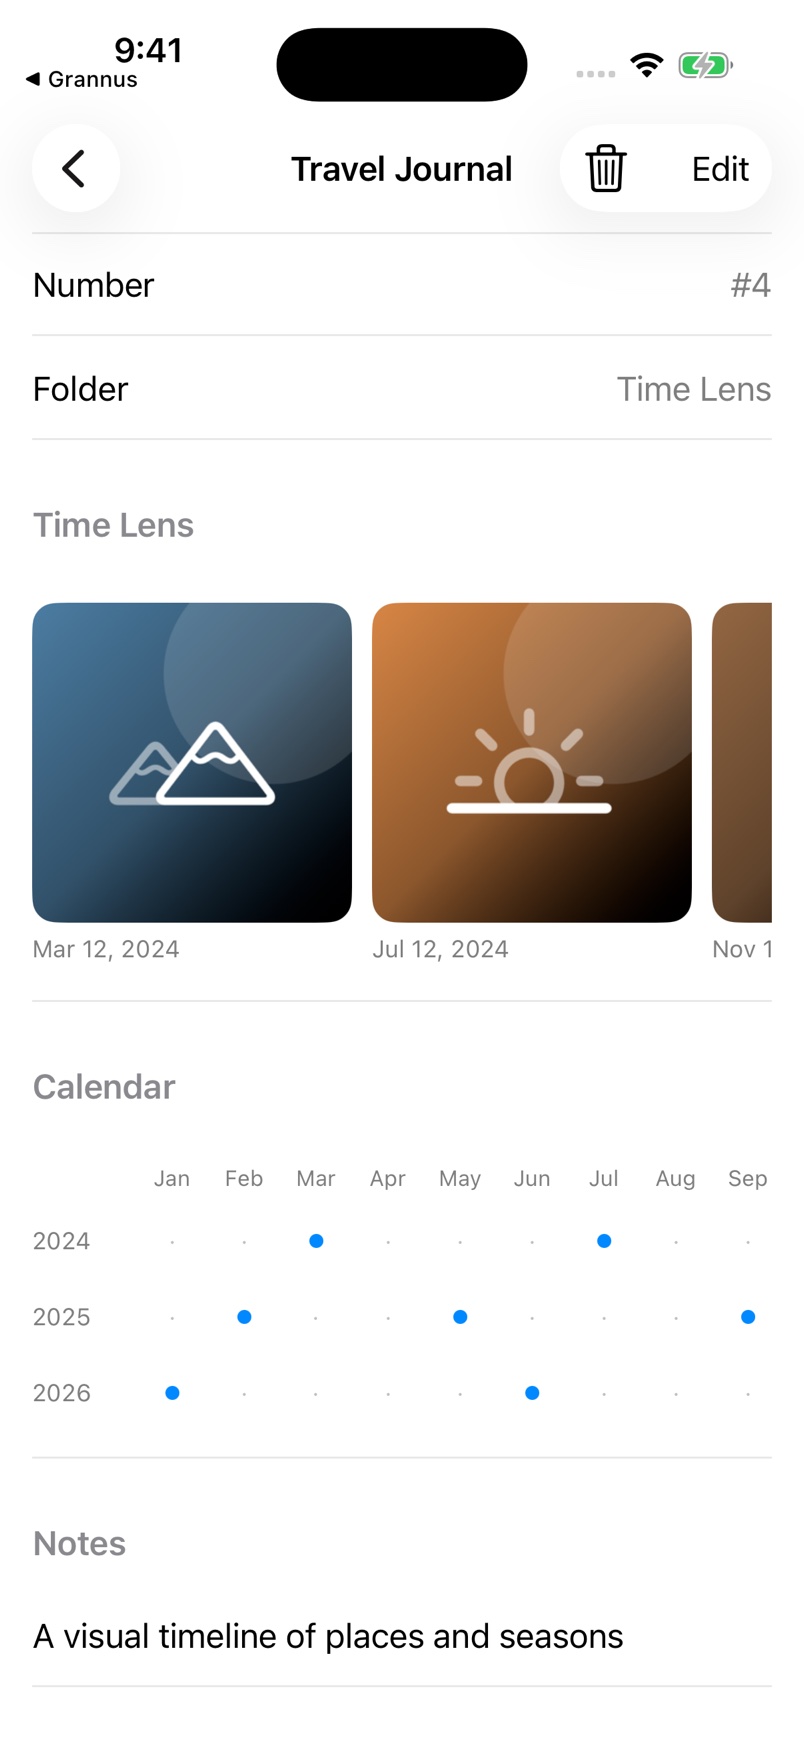
- Select a month in Calendar.
What to expect. Calendar opens that month’s pictures. Add a Time Lens field to a template and assign it to the folder first if Add Pictures is unavailable.
Enable optional sync and check its status
- From the collection screen, open the top-right three-line button for Settings.
- Turn on Enable Server Sync.
- Choose Continue with NSG ID.
- Complete sign-in with the intended account.
- Choose Sync Now.
- Review the status and last-sync time.
What to expect. Sync needs an internet connection. Core collection features work locally without an account. Repair Item Numbers in Settings addresses duplicates. Delete Sync Account removes account and collection records from the active server database while keeping local records and your shared NSG ID; uploaded photo files are not automatically removed. Contact support about retained files or other deletion requests.
If something goes wrong
New Item is unavailable?
Create and select a folder first, then choose New Item.
No photo control appears?
Check the folder’s template. It needs a photo or Time Lens field to offer pictures; a photo field can also be limited to one image.
Checking sync or duplicate numbers?
Open Settings to review the sync status and use Sync Now. Repair Item Numbers addresses duplicate numbers. Contact support before account deletion if you need help retaining or removing data.
Contact North Star Gate
Include the app version, device model, iOS version, what you tried, and the error shown. Review screenshots and logs for personal information before sharing them.
