 North Star Gate
 Agres
AgresBefore you begin
Agres connects to the mail servers you configure. Your provider may require an app-specific password. Loading remote images or opening links contacts their hosts; sender-domain signals do not guarantee that a message is safe. Agres asks permission to show notifications. You can review that permission in the iOS Settings app; you can still open Agres to check mail if alerts are disabled.
Connect your first mailbox
- Have your mail provider’s incoming and outgoing server settings ready.
- Open the upper-left menu.
- Choose Accounts.
- Tap Add.
- Enter a name for the account in Display Name.
- Enter your address in Email Address.
- Enter the account password or provider-issued app password in Password.
- Under Incoming, choose the provider’s Protocol: IMAP or POP3.
- Enter the incoming server in Host.
- Enter the incoming Port.
- Set Use TLS or Use STARTTLS according to the provider’s instructions.
- Under SMTP (Send), enter the outgoing server in Host.
- Enter the outgoing Port.
- Set the outgoing Use TLS or Use STARTTLS option according to the provider’s instructions.
- Tap Test Connection.
- Review the connection result.
- Tap Save when the test and account details are correct.
What to expect. The account appears in Accounts and downloaded messages appear in E-mail. A provider may require an app-specific password. Leave Allow untrusted TLS (debug) disabled for normal use.
Find and organize email
- Choose E-mail at the top.
- Select Unread, Read, Pinned, Sent, Drafts, or Trash to choose the list.
- Tap the magnifying glass to search.
- Enter a subject, address, or text from a downloaded message.
- For IMAP accounts, tap Search on Server if you need to search mail that is not downloaded.
- Open a message from the sender you want to categorize.
- Tap the ellipsis beside the sender address.
- Choose a category, or General to remove the assignment.
What to expect. The list shows the chosen mode or search results. Create categories through Menu > Categories before assigning them. Categories are local to Agres and do not create server folders. Opening unread mail marks it read; the temporary Undo control can reverse that change.
Flag a familiar name using an unexpected domain
- Open the upper-left menu.
- Choose Categories.
- Tap Add.
- Enter a category name such as Suspicious.
- Tap Save.
- Return to the upper-left menu.
- Choose Sender Domain Check.
- Tap Add.
- Enter the name shown in the sender’s emails in Sender Name.
- Enter an independently verified official domain in Add domain (e.g. example.com).
- Tap the green + beside the domain field.
- Repeat the domain-entry and + actions for each additional official domain.
- Tap Save.
- Set Mismatch Category to the category you created.
- Open a message from that sender.
- Inspect the shield beside the sender information.
What to expect. Orange indicates an unexpected domain for a registered name, green indicates a match, and gray means unregistered. These signals do not guarantee safety. If no domain is added to the list before saving, every message using that registered name is treated as suspicious. Keep Show images off for messages you do not trust.
Reply to a message
- Open the message you want to answer.
- Tap the reply arrow.
- Choose whether to include other recipients if the app asks.
- Review the recipients.
- Write your reply.
- Tap Send when it is ready.
What to expect. The reply is sent through the account’s outgoing server. If sending fails, review the error and the account’s SMTP (Send) settings before trying again.
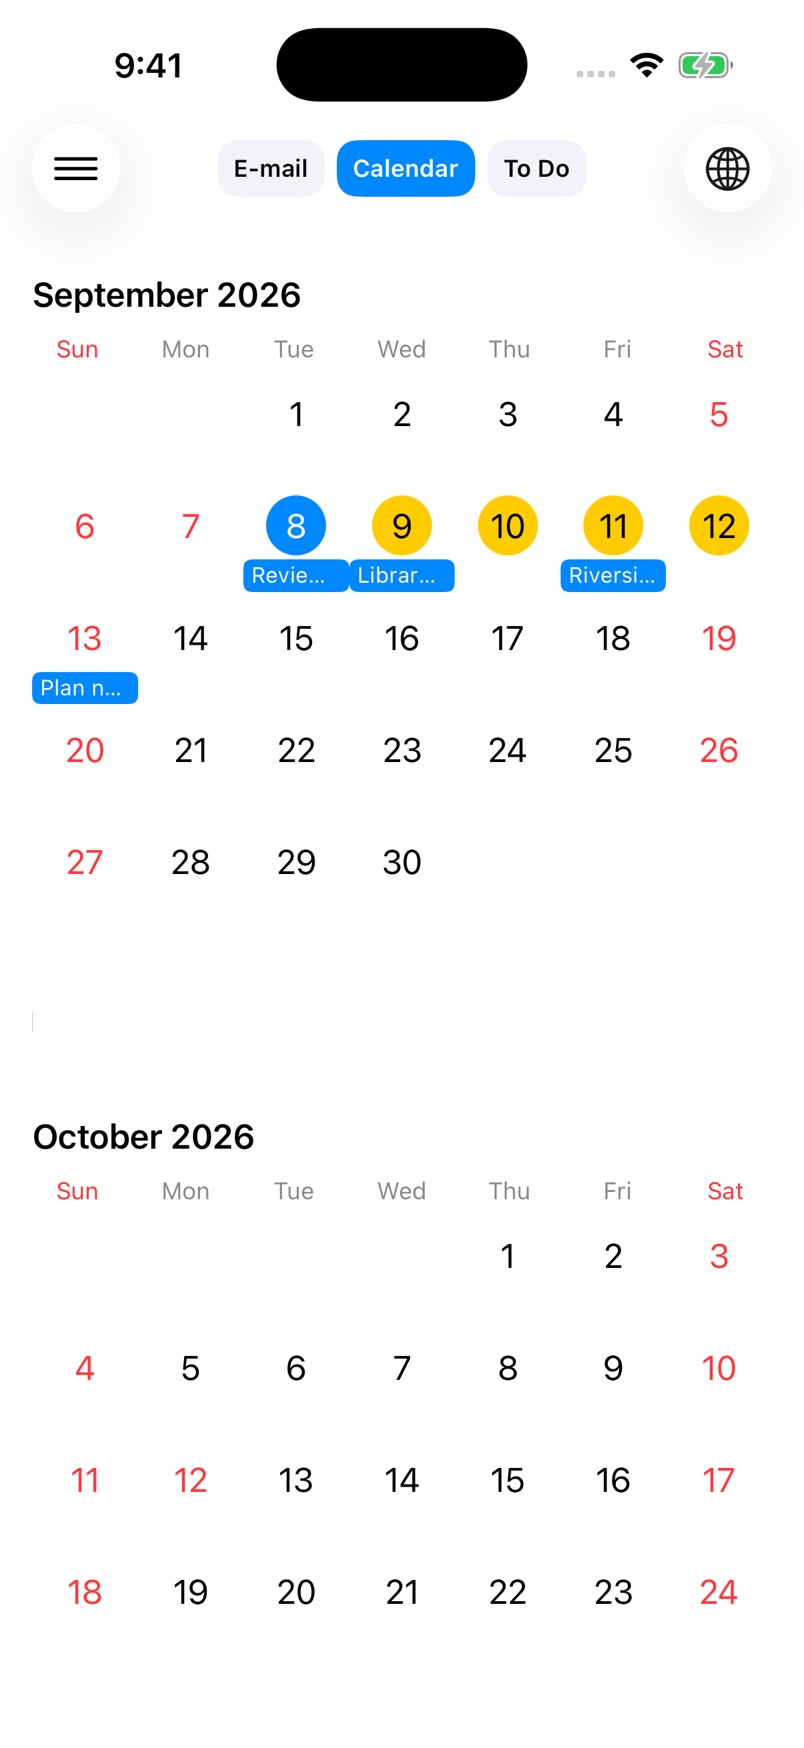
Make a calendar event from a message
- Open the message you want to follow up on.
- Tap the calendar button.
- Enter the event Title.
- Enable All-day only if the event lasts all day.
- Choose Start.
- Choose End.
- Tap Add.
What to expect. The event appears in Calendar with a link to the message. The link remains usable while the account and source message are available. For a task instead of an event, the message’s checklist button opens Add To Do, with What needs to be done?, optional dates, and an Add button.
Back up settings and recover from connection errors
- Open the upper-left menu.
- Choose Export Backup….
- Save the backup to a destination you control.
- When you need to restore a backup, reopen the menu.
- Choose Import Backup….
- Select an Agres backup file.
- Re-enter credentials if a restored account cannot authenticate on this device.
- If mail does not load, pull down on the message list to refresh.
- For a persistent connection error, open Accounts from the menu.
- Review the affected account’s server settings and credentials.
- Use Retry or View Logs when the account error offers them.
- Choose Export Logs… from the menu when you need diagnostic files for support.
What to expect. Import replaces stored configuration and restores local state. Keep the current export before importing a different backup. Backups exclude passwords and authentication tokens. Exported logs may contain private account and message-related details; review the destination before sharing.
If something goes wrong
Mail is not arriving?
Refresh the message list, then check Accounts for the server, port, TLS settings, and credentials. Use Test Connection before saving changes.
Moving your setup?
Use Export Backup… before Import Backup…. Import replaces configuration, and backups exclude passwords and authentication tokens.
Need connection details?
Use Retry or View Logs when offered. Export Logs… saves diagnostics for support; review logs before sharing because they may include account and message details.
Contact North Star Gate
Include the app version, device model, iOS version, what you tried, and the error shown. Review screenshots and logs for personal information before sharing them.
